
Custom Hat Embroidery Front and Back: a practical artwork, placement and sample approval guide from Jalal Hats & Apparels Ltd. for brands, importers, uniform programmes and promotional headwear buyers.
Published 31 October 2026. Two decoration locations need more than a front logo copied onto the rear of a cap. This guide explains how to specify the design, check the closure area, prepare a complete quotation brief and approve both applications as one finished product. Confirm project feasibility and current terms directly with the manufacturer.
The topic was selected after reviewing Google’s related searches for custom hat embroidery, where front and back appeared as a suggested refinement. Those suggestions identify useful wording and questions; they do not provide a verified monthly search volume. This article focuses on the two-location approval problem, while our embroidered cap sourcing guide covers the broader supplier enquiry.
Custom hat embroidery front and back: planning comparison
This table lists approval questions, not machine settings or guaranteed decoration dimensions. Use it to discuss the actual proposed cap and the evidence needed for your project.
| Decision | Front application | Back application | Evidence to retain |
|---|---|---|---|
| Artwork identity | Primary emblem or agreed front design | Secondary wordmark or agreed rear design | Separate labelled files under one style record |
| Position | Reference crown and visor centre as agreed | Reference opening, closure and seam arrangement | Photographs and stated measurement points |
| Dimensions | Check usable area on the intended crown | Check usable area above or around rear construction | Actual application trial rather than a universal size |
| Seam interaction | Review centre seam where present | Review the actual rear panel joins | Decorated sample and internal view |
| Material | Confirm shell and front support | Confirm rear material and components | Approved material combination |
| Colour | Specify each colourway’s thread references | Specify matching or contrasting rear threads | Current colourway and artwork sheet |
| Fit review | Assess front presentation while worn | Check intended adjustment settings | Representative wearing and placement review |
| Quote | Identify the front application clearly | Identify the additional rear application clearly | Complete proposal with inclusions and open assumptions |
| Inspection | Check correct design, appearance and position | Check correct rear version and placement | Full approved reference and assortment matrix |
| Packing | Protect front decoration and crown | Review rear contact and handling | Packing reference and unpacking check |
1. Plan the front and back as one design
Custom hat embroidery front and back gives a brand two separate places to communicate, but those locations should be planned together. The front might carry the main identity while the back uses a short wordmark, a secondary symbol or another supporting detail. Decide the purpose of each application before choosing dimensions. Repeating every element on both sides is not automatically the most effective design.
Prepare front and rear views of the same cap and label the intended artwork. Show whether both applications use the same thread references and visual style. If a front emblem is detailed, a simpler rear treatment may make the overall product easier to understand. This is a design decision to review on the sample rather than a rule that every brand must follow.
Keep the two applications under one style record with separate placement instructions. The manufacturer should be able to identify which file belongs to each location without guessing. A combined approval record also prevents a front revision from accidentally leaving the rear artwork out of date when the final cap is prepared for production.
2. Confirm which cap construction will be embroidered
A location described as front or back does not establish the usable decoration area. Panel arrangement, crown support, seams and rear opening influence the actual surface available. Ask for the construction proposed for your project and review photographs from inside as well as outside. A familiar product category is a starting point rather than a complete embroidery specification.
For related construction questions, read our five panel versus six panel guide and structured versus unstructured caps guide. The goal is to connect the artwork to the actual proposed cap. Neither a particular panel count nor a reinforcement label guarantees that every design will work.
If the cap changes during development, review both embroidery locations again. A revised rear opening may reduce available space, while another front construction may alter seam interactions. Record those changes explicitly. This keeps decoration approval tied to a defined product and avoids transferring an apparently successful logo from one cap to another without checking whether the surrounding construction is still comparable.
3. Identify the front centre and reference lines
A centred front logo needs an agreed reference, not just an instruction to put it in the middle. The visor centre, crown seam and apparent visual centre may not align perfectly in a poorly positioned photograph. Ask the sample team to show how placement is measured on the actual cap and use consistent views during review.
Supply the intended artwork size and identify the distance reference from a stable construction feature. The appropriate position depends on the cap and application; this guide does not give a universal distance that fits all products. A paper mockup may support discussion, but it should not replace a decorated sample on the intended material and construction.
Review the cap square to the camera and in a natural wearing shape. If the logo appears tilted, check the underlying seam and visor alignment before assuming the embroidery file is wrong. Keep photographs showing the accepted position with the specification. Clear references make later inspection more practical because the reviewer can compare against a documented target rather than a general impression of where a logo should sit.
4. Map the rear opening and closure before adding artwork
The back of an adjustable cap contains more than an empty decoration surface. The opening, strap, buckle, snap or other closure can limit where artwork can be placed and how it looks when worn. Show the proposed rear construction clearly before approving a wordmark that may overlap or sit too close to a moving component.
Ask for a rear view at a stated adjustment setting. If the cap will be worn across a range of settings, review whether the artwork remains visually acceptable throughout that intended range. A logo placed on the closure itself is a different specification from one positioned on the crown above the opening. Identify those locations separately rather than use the same vague instruction.
For a fitted or closed-back cap, review the actual seam arrangement and available application area instead of assuming the adjustable-cap layout applies. Keep the rear approval linked to the closure and pattern revision. Changing a fastening method later may require another placement review even if the front silhouette and main logo remain exactly as originally approved.
5. Choose artwork dimensions for the actual surface
A logo’s width and height should be decided in relation to the selected cap, not copied from an unrelated catalogue. Crown curvature, seam positions, reinforcement and equipment all influence the practical result. Ask the manufacturer to confirm a proposed application area for each location and explain any limitation before the artwork is finalised.
Keep the front and rear dimensions separate in the brief. A rear wordmark often has a different shape and purpose from the front emblem, so simply shrinking the same design may not preserve readability. Review the smallest letters and the space between elements at the intended finished size. A detailed design on a large screen can become unclear when reduced.
Do not interpret a machine’s theoretical working area as a guaranteed usable logo size on every assembled cap. Request an actual trial and assess the finished product. Record approved dimensions with the artwork version and placement reference. This gives the buyer a clearer basis for comparison when a supplier proposes a smaller application or a modified arrangement to achieve a more consistent result.
6. Prepare separate, clearly labelled artwork files
Send the best available original artwork and identify the intended front and back versions. Keep file names understandable, including the style code and revision where practical. A supplier should not have to choose among several similar attachments or guess which colour variation is current. Consolidate feedback before issuing a new version.
Specify the intended finished dimensions and colour references in a separate instruction sheet as well as in the artwork discussion. If a file contains multiple marks, label the relevant parts. Ask what file preparation the manufacturer needs for its process. A general image format request does not establish that the artwork is already ready for embroidery production.
Keep the approved production interpretation linked to the original brand artwork. If small details need adjustment, review the proposed change rather than assume digitising should reproduce every screen detail literally. Archive superseded versions clearly so they cannot be mistaken for the final file. Good version control becomes especially useful when the front is approved early but the back wordmark continues through another development revision.
7. Discuss digitising as a project-specific step
Embroidery uses production instructions that interpret artwork for stitching. The result depends on more than an image being uploaded. Ask the supplier how the design will be reviewed for the intended cap and whether a trial is included in the proposed development. Do not assume an existing file from another product will produce the same appearance on the new construction.
The front and rear may require separate consideration because their surfaces, seams and visual requirements differ. A file that performed acceptably on a flat panel is not proof of the result on an assembled curved crown. Request a representative sample and inspect the actual applications rather than approving the process only from a digital preview.
This guide does not prescribe universal machine settings, stitch density or stitch counts. Those decisions need appropriate production knowledge and the actual material and artwork. The buyer’s role is to communicate the desired result and review evidence. Keep the approved interpretation, dimensions and sample reference together so a later change can be understood in context instead of being applied silently to one location.
8. Review small rear lettering for readability
A short rear wordmark can still be difficult to reproduce if its letters are too small or tightly arranged for the proposed application. Decide what must remain legible and whether every detail is necessary. Ask the sample team to flag concerns before the design is locked, particularly where a narrow space above the rear opening is being used.
Inspect the lettering at the actual finished size and from a normal viewing distance. A close-up photograph is useful for workmanship, but it can hide how the mark reads on the whole cap. Look for clear spacing and understandable letter shapes. If the sample needs revision, identify the specific problem rather than merely ask for sharper embroidery.
Consider an alternate rear arrangement if the original design cannot meet the intended result. A shorter wording or simpler secondary symbol may be suitable, but that is a brand approval decision. Do not change text without authorisation from the buyer. Keep the accepted version with the cap record so later production does not restore an earlier, more detailed file that had already been rejected.
9. Choose thread references with the shell colours
Thread selection should support the approved brand identity and the actual shell fabric. A colour that looks clear on a white screen may have a different visual relationship with a dark or textured cap. Provide references and ask to review the proposed thread on the intended materials. Avoid treating screen appearance alone as an exact physical match.
State whether the front and back use identical thread references or deliberately different colours. If the collection has several shell colourways, specify the embroidery combination for each one. A single instruction such as use the logo colours may leave uncertainty when the same mark is intended to reverse from light to dark.
Review each relevant combination through the agreed sample process. If an alternative thread is proposed, record the change and assess its appearance before acceptance. Keep the colourway sheet aligned with the artwork versions. This prevents a production team from using the right design with the wrong colour interpretation, especially when front and rear applications have separate approvals or are discussed in different messages.
10. Evaluate the interaction with fabric and reinforcement
Shell fabric and crown support contribute to the appearance around embroidery. A soft surface and a reinforced front may respond differently, and the rear may have another construction again. Discuss the intended material combination before approving the logo. A broad fibre name alone cannot establish how every decoration will behave.
Use our cap fabric selection guide to organise the material record. Inspect whether the surrounding fabric retains the intended appearance after stitching. Check the cap in a realistic shape and compare it with an undecorated reference where available. This can help distinguish a construction issue from one associated with the application.
If the fabric or reinforcement changes during development, ask whether both decoration locations need another review. Do not assume an unchanged artwork file means the previous sample approval covers the new product. Keep the final material combination, application references and sample revision together. This makes later inspection more meaningful and reduces the chance of a substitute material being accepted without consideration of its effect on the complete cap.
11. Inspect the inside and the wearer contact areas
Front and back branding should be reviewed from inside as well as outside. Internal finishing, backing and adjacent components form part of the finished product. Ask for clear internal views and handle a representative sample where practical. An attractive outer photograph does not show every feature that could matter to the wearer.
Look at the relationship between the embroidery and sweatband, seam tapes, rear opening and closure. Identify obvious roughness, awkward joins or visible finishing concerns precisely. A short handling review should not be described as proof of universal comfort or long-term durability. If the programme has a specific evaluation requirement, communicate it before the product is costed.
Keep internal components in the specification and identify any substitution proposed later. A rear application may look unchanged outside while a different internal arrangement affects the overall product. Approve the complete combination rather than treating decoration as disconnected from construction. This is especially relevant when the front and back are developed separately but will ultimately be supplied as one finished branded cap.
12. Review the complete cap at different fit settings
Logo placement is part of how a cap looks when worn. For adjustable products, the rear opening and strap position can change across the intended fit range. Review the back at relevant settings rather than approve only a carefully arranged empty-cap photograph. Record the reference setting used for measurement and sample comparison.
For front review, check whether the crown sits as intended and whether fit issues distort the apparent position of the logo. A cap that is too deep or loose may not present the artwork as expected even if its application dimensions are correct. Separate fit feedback from decoration feedback so the sample team can address the actual cause.
Our size and fit guide supports this process. Collect specific observations from relevant wearers where feasible and retain the approved fit reference. If a closure, sweatband or pattern changes, reconsider the rear placement approval. The goal is a product that matches the brief in use, rather than one that looks balanced only in a single studio arrangement.
13. Quote front and back applications transparently
Two decoration locations should appear clearly in the quotation brief. State the artwork, intended size, thread references and quantity splits for each application. Ask what is included in the proposed development and production price. A front-only cap price is not directly comparable with a complete front-and-back branded proposal.
Identify any separately quoted artwork preparation or sampling charges and record what remains subject to approval. If one location changes during development, ask whether the commercial proposal needs revision. Do not assume the back application is free or that it has a fixed cost across every possible design. The actual offer should define the product being supplied.
Our custom cap MOQ guide explains related quantity questions. Show different rear wording or logo versions as separate rows where appropriate. A shared front logo does not automatically mean every rear variation is treated identically. Keep the quotation date and specification revision visible so purchasing colleagues can compare equivalent proposals rather than several prices based on different branding assumptions.
14. Prepare an assortment matrix for multiple logos
A programme may use the same front emblem with different rear text for teams, departments or product lines. Organise those combinations before requesting the final quote. Use one row per meaningful variation, identifying shell colour, size where relevant, front file, back file and quantity. This makes the assortment understandable to both buyer and supplier.
Check that row totals match the overall order quantity and that artwork references correspond to the approved files. If two rear versions have similar names, use distinctive identifiers. Do not leave the final split to a verbal message after the sample has been accepted. That can create confusion about minimums, packing and which version should appear on each cap.
Ask the supplier to confirm the grouping used in its proposal and retain the response with the matrix. If a quantity changes later, update the current sheet rather than create another conflicting copy. A clear assortment record is useful through production review and receiving because it connects the correct front-and-back combination with the quantity and label information expected for each group.
15. Approve both sides in one final reference
It is reasonable to resolve front and rear design questions in stages, but the final approval should identify the complete cap. A front approval from one sample and a rear approval from another need an explicit explanation of how they combine. Otherwise a supplier may reproduce a version that appears correct in one location but is outdated in the other.
Use our sample approval guide to structure the record. Identify the style, colourway, materials, front file, rear file and sample revision. Mark approval conditions clearly and state what must happen before bulk release. Photographs should show both applications and relevant internal finishing, with dimensions or reference points where needed.
Retain a complete approved sample where practical. It gives production and inspection teams a common standard and reduces dependence on scattered messages. If the specification changes after approval, record the effect on both sides. A logo revision should not silently become a new instruction without a corresponding update to the sample or approval record that defines the final product.
16. Define inspection checks for two decoration locations
Production review should verify the correct artwork and placement at both the front and back. Check the complete combination against the approved reference, not just whether each location contains some embroidery. A cap can use individually acceptable applications but still be wrong because the rear version belongs to a different group in the assortment.
Agree the inspection approach and requirements before production. Our quality control checklist provides practical starting points. If your organisation requires a formal sampling plan or defect classification, share it explicitly. This guide does not prescribe a universal pass percentage or claim that a short visual review replaces every relevant evaluation.
Record findings with clear front, rear and internal photographs where appropriate. Identify whether an issue concerns artwork identity, dimensions, position, thread colour, surrounding fabric or the underlying cap. Precise categories support a focused corrective discussion. Keep the report tied to the style and revision so a later reviewer understands which standard was used and what remains unresolved before a delivery decision.
17. Protect embroidery during packing
Packing should consider the cap shape and both decorated surfaces. Nested caps may bring one application into contact with another item or a rigid component. Ask for the proposed arrangement and inspect a representative packed sample where practical. Do not assume an acceptable front appearance guarantees that the rear application will be unaffected by handling.
Review the product after unpacking and identify unwanted marks, distortion or changes in the intended presentation. This practical check is not a transport performance guarantee. It is a way to make the packing instructions relevant to the actual decorated cap. Record the accepted arrangement and any specific limitations or open questions.
Our packaging guide explains related buyer decisions. Include identifiers for different front-and-back combinations so receiving staff can locate the correct assortment without unnecessary handling. If a packing change is proposed later, review its effect on the complete product. Keep the final instructions linked to the specification rather than treating dispatch as a separate stage with no relationship to decoration approval.
18. Keep a reliable record for repeat orders
A reorder should identify the exact cap and both artwork versions. Save the construction, measurements, material references, thread colours, front and rear dimensions, placement instructions and final sample record. The phrase same embroidered hats is insufficient when a collection has several rear wordmarks or colour combinations.
Our tech pack guide helps organise the reusable information. Before reordering, confirm whether materials and components remain available and whether any substitution changes the application result. Request current commercial terms rather than assume the first order established permanent prices, quantity conditions or timing.
For a project discussion, contact Jalal Hats & Apparels Ltd. with the complete brief and quantity matrix. Ask the team to confirm feasibility for both locations and identify the appropriate sample process. This guide offers planning questions rather than a guarantee that every design or placement is achievable. The reliable next step is a representative sample and a clear written approval connected to the actual product being ordered.
Illustrative example: one front emblem with two rear versions
Consider a hypothetical uniform programme using one front emblem and two different rear wordmarks. This is an approval example, not a Jalal customer case, quotation or statement of minimum quantities. The buyer needs two clearly identified combinations even though the front artwork is shared.
| Illustrative version | Front file reference | Rear file reference | Approval question |
|---|---|---|---|
| Team A | Front emblem revision 2 | Team A wordmark revision 1 | Are both applications shown together on the approved cap? |
| Team B | Front emblem revision 2 | Team B wordmark revision 3 | Does the rear version match the current assortment row? |
| Shared construction | Same proposed shell, closure and fit specification | Has any construction change affected either placement? | |
The buyer reviews the front emblem on the selected cap, then checks whether each rear wordmark fits the available area. If Team B’s lettering needs revision, the updated rear file receives its own identifier. Approval of Team A should not be mistaken for approval of an outdated Team B version simply because the front logo is identical.
Before release, the final record identifies both combinations, their quantities and the relevant sample references. Receiving identifiers follow those same version names. This creates a clear connection between the design brief, quotation, production review and packed assortment. The example does not prescribe a fixed number of samples or a universal factory process; agree an appropriate approval sequence for the actual order.
A useful practical check is to ask a colleague who did not participate in development to identify the correct pair of files from the final record. If that person has to guess, the documentation needs clarification before it becomes a production instruction. The purpose is an understandable handover, not an unnecessarily complex file system.
External design resources and evidence limits
The Custom Ink hats design page is an external consumer-facing design resource. It can help buyers recognise the distinction between a digital product presentation and the project-specific sample they still need to approve. It does not establish Jalal’s available placements, pricing, quantities or an affiliation between the companies.
For independent manufacturer programme context, consult the Flexfit wholesale services page. Different service routes should be understood on their own terms. A service or product offered elsewhere should not be copied into your enquiry as an assumed Jalal commitment.
The guidance here is a buyer planning framework. It does not report measured embroidery performance, prescribe equipment settings or certify a particular product. The photographs below provide company and product context. Request dedicated sample evidence for your actual cap, material and artwork combination before using it to make a final approval decision.
Real Factory Images and Related Products


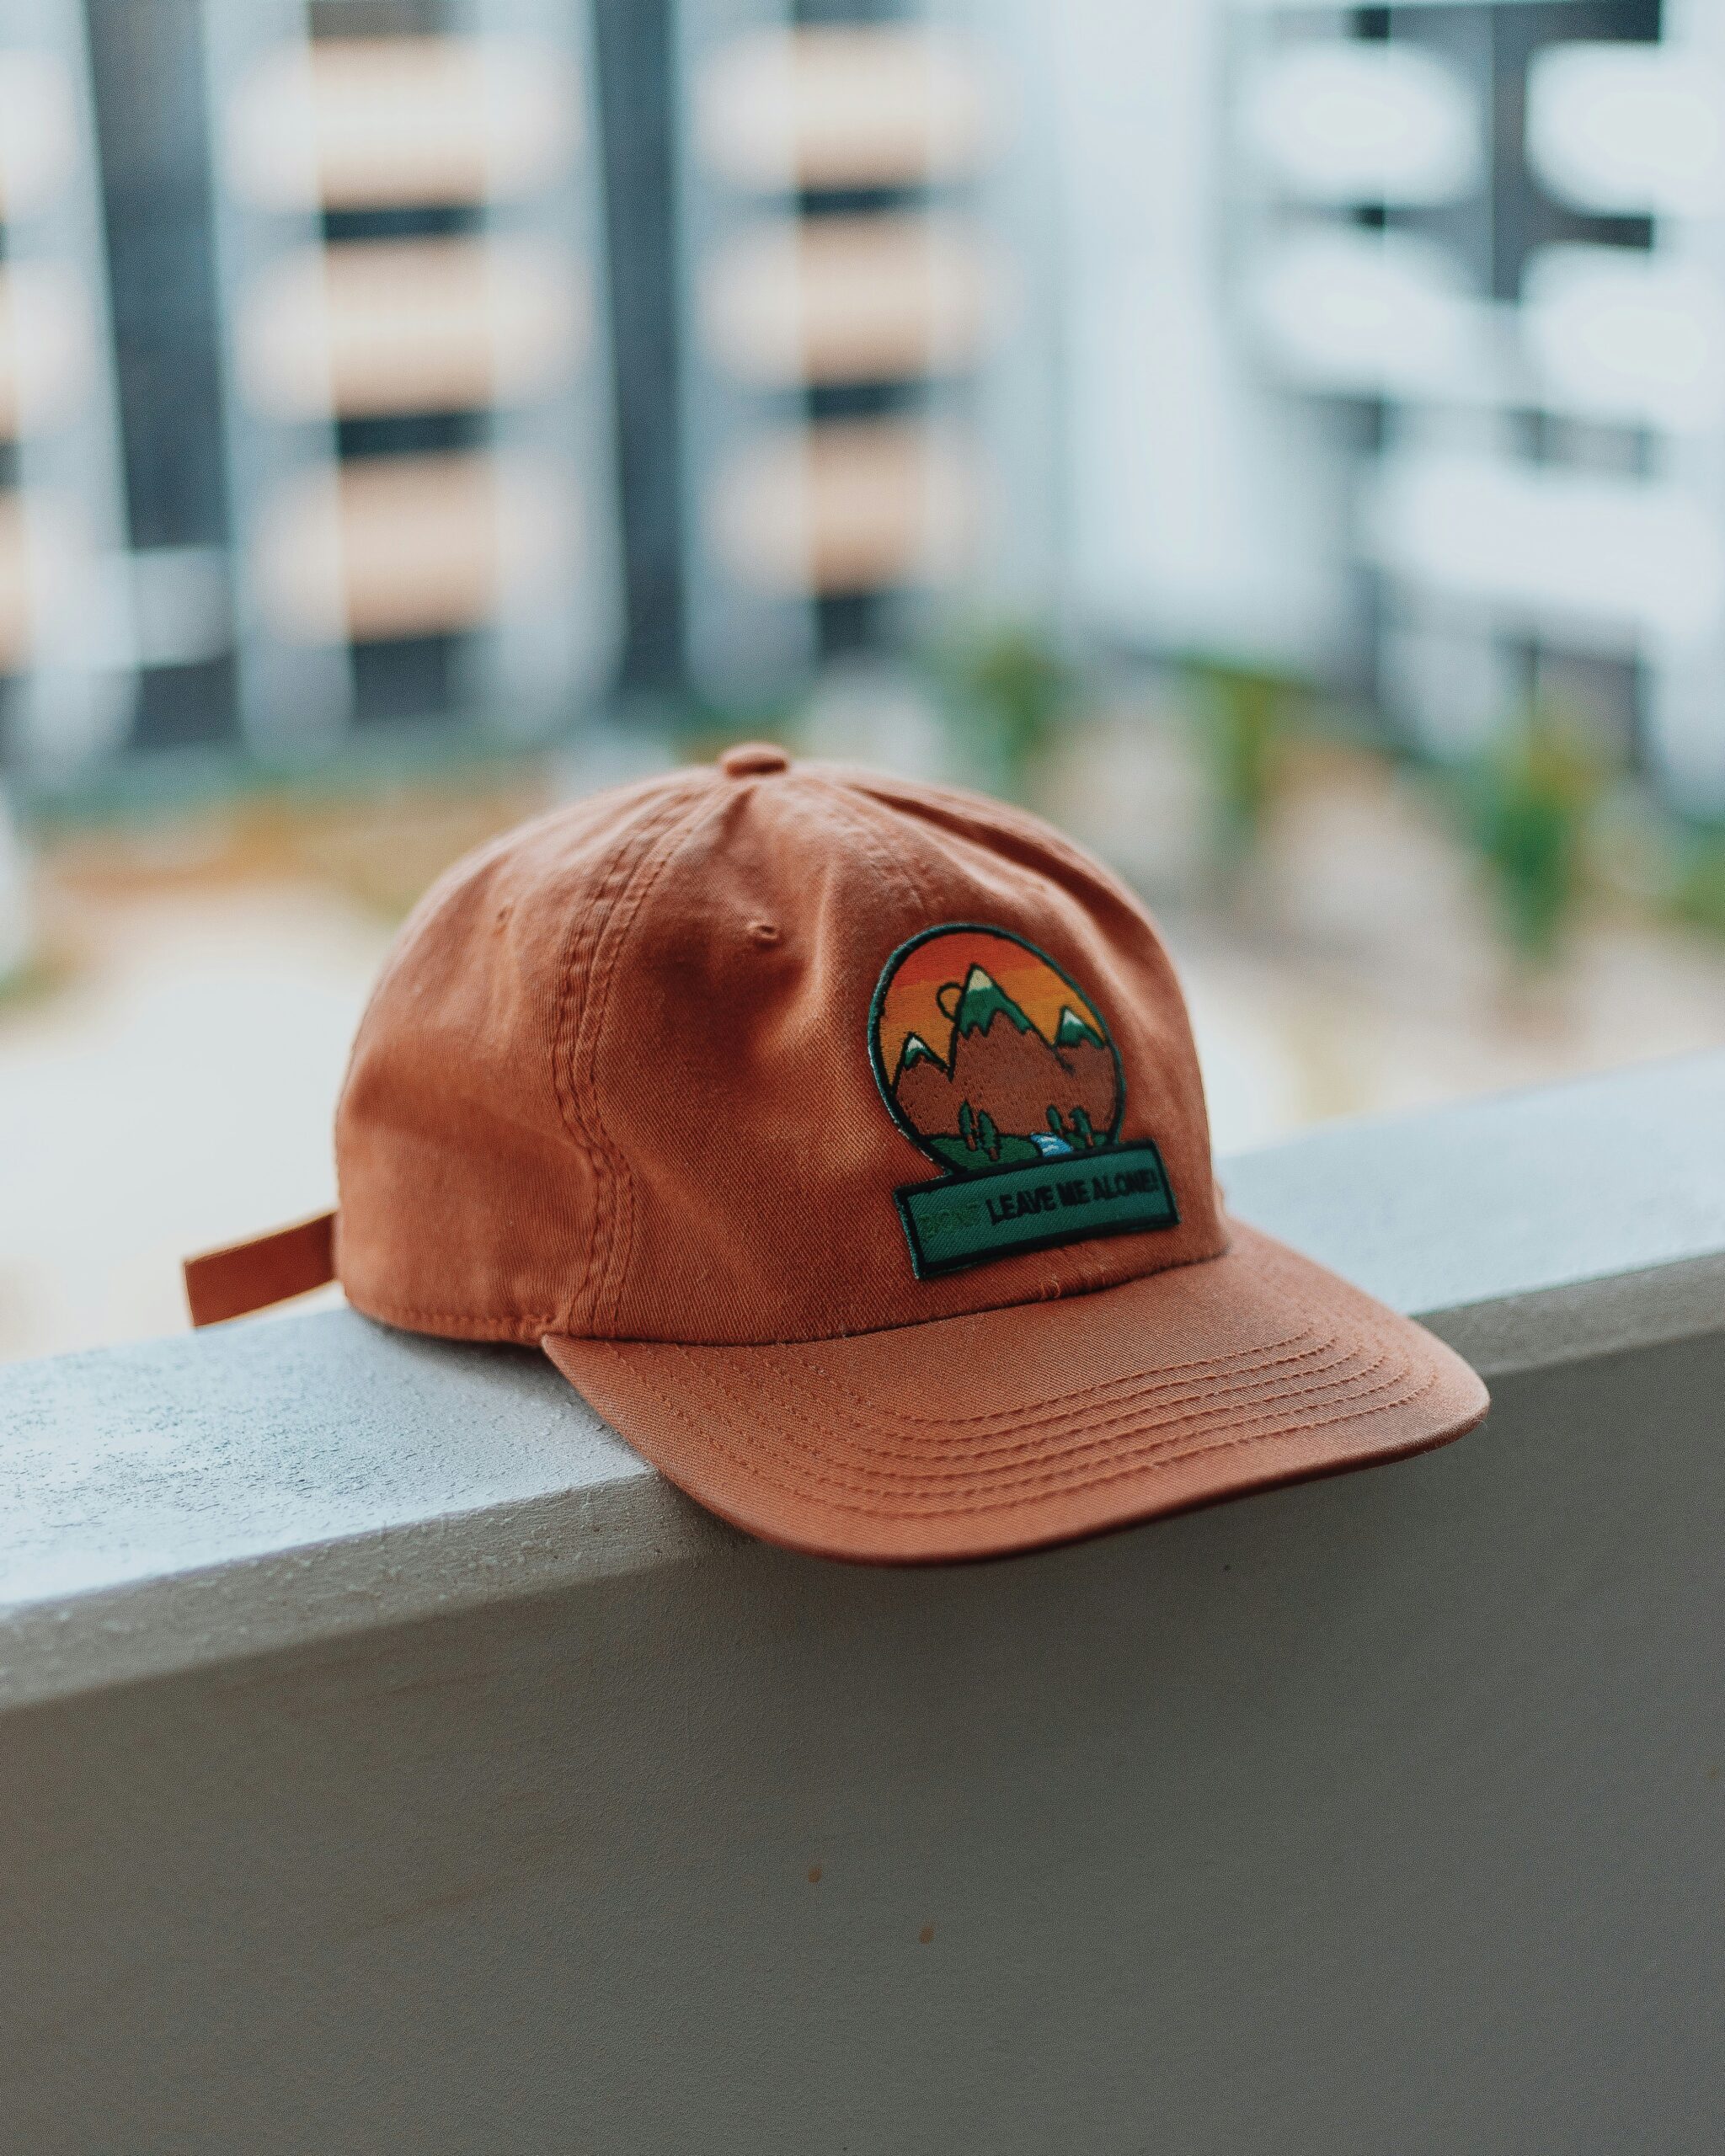
Dad Hats
Discuss your required silhouette, materials and custom branding with our team.
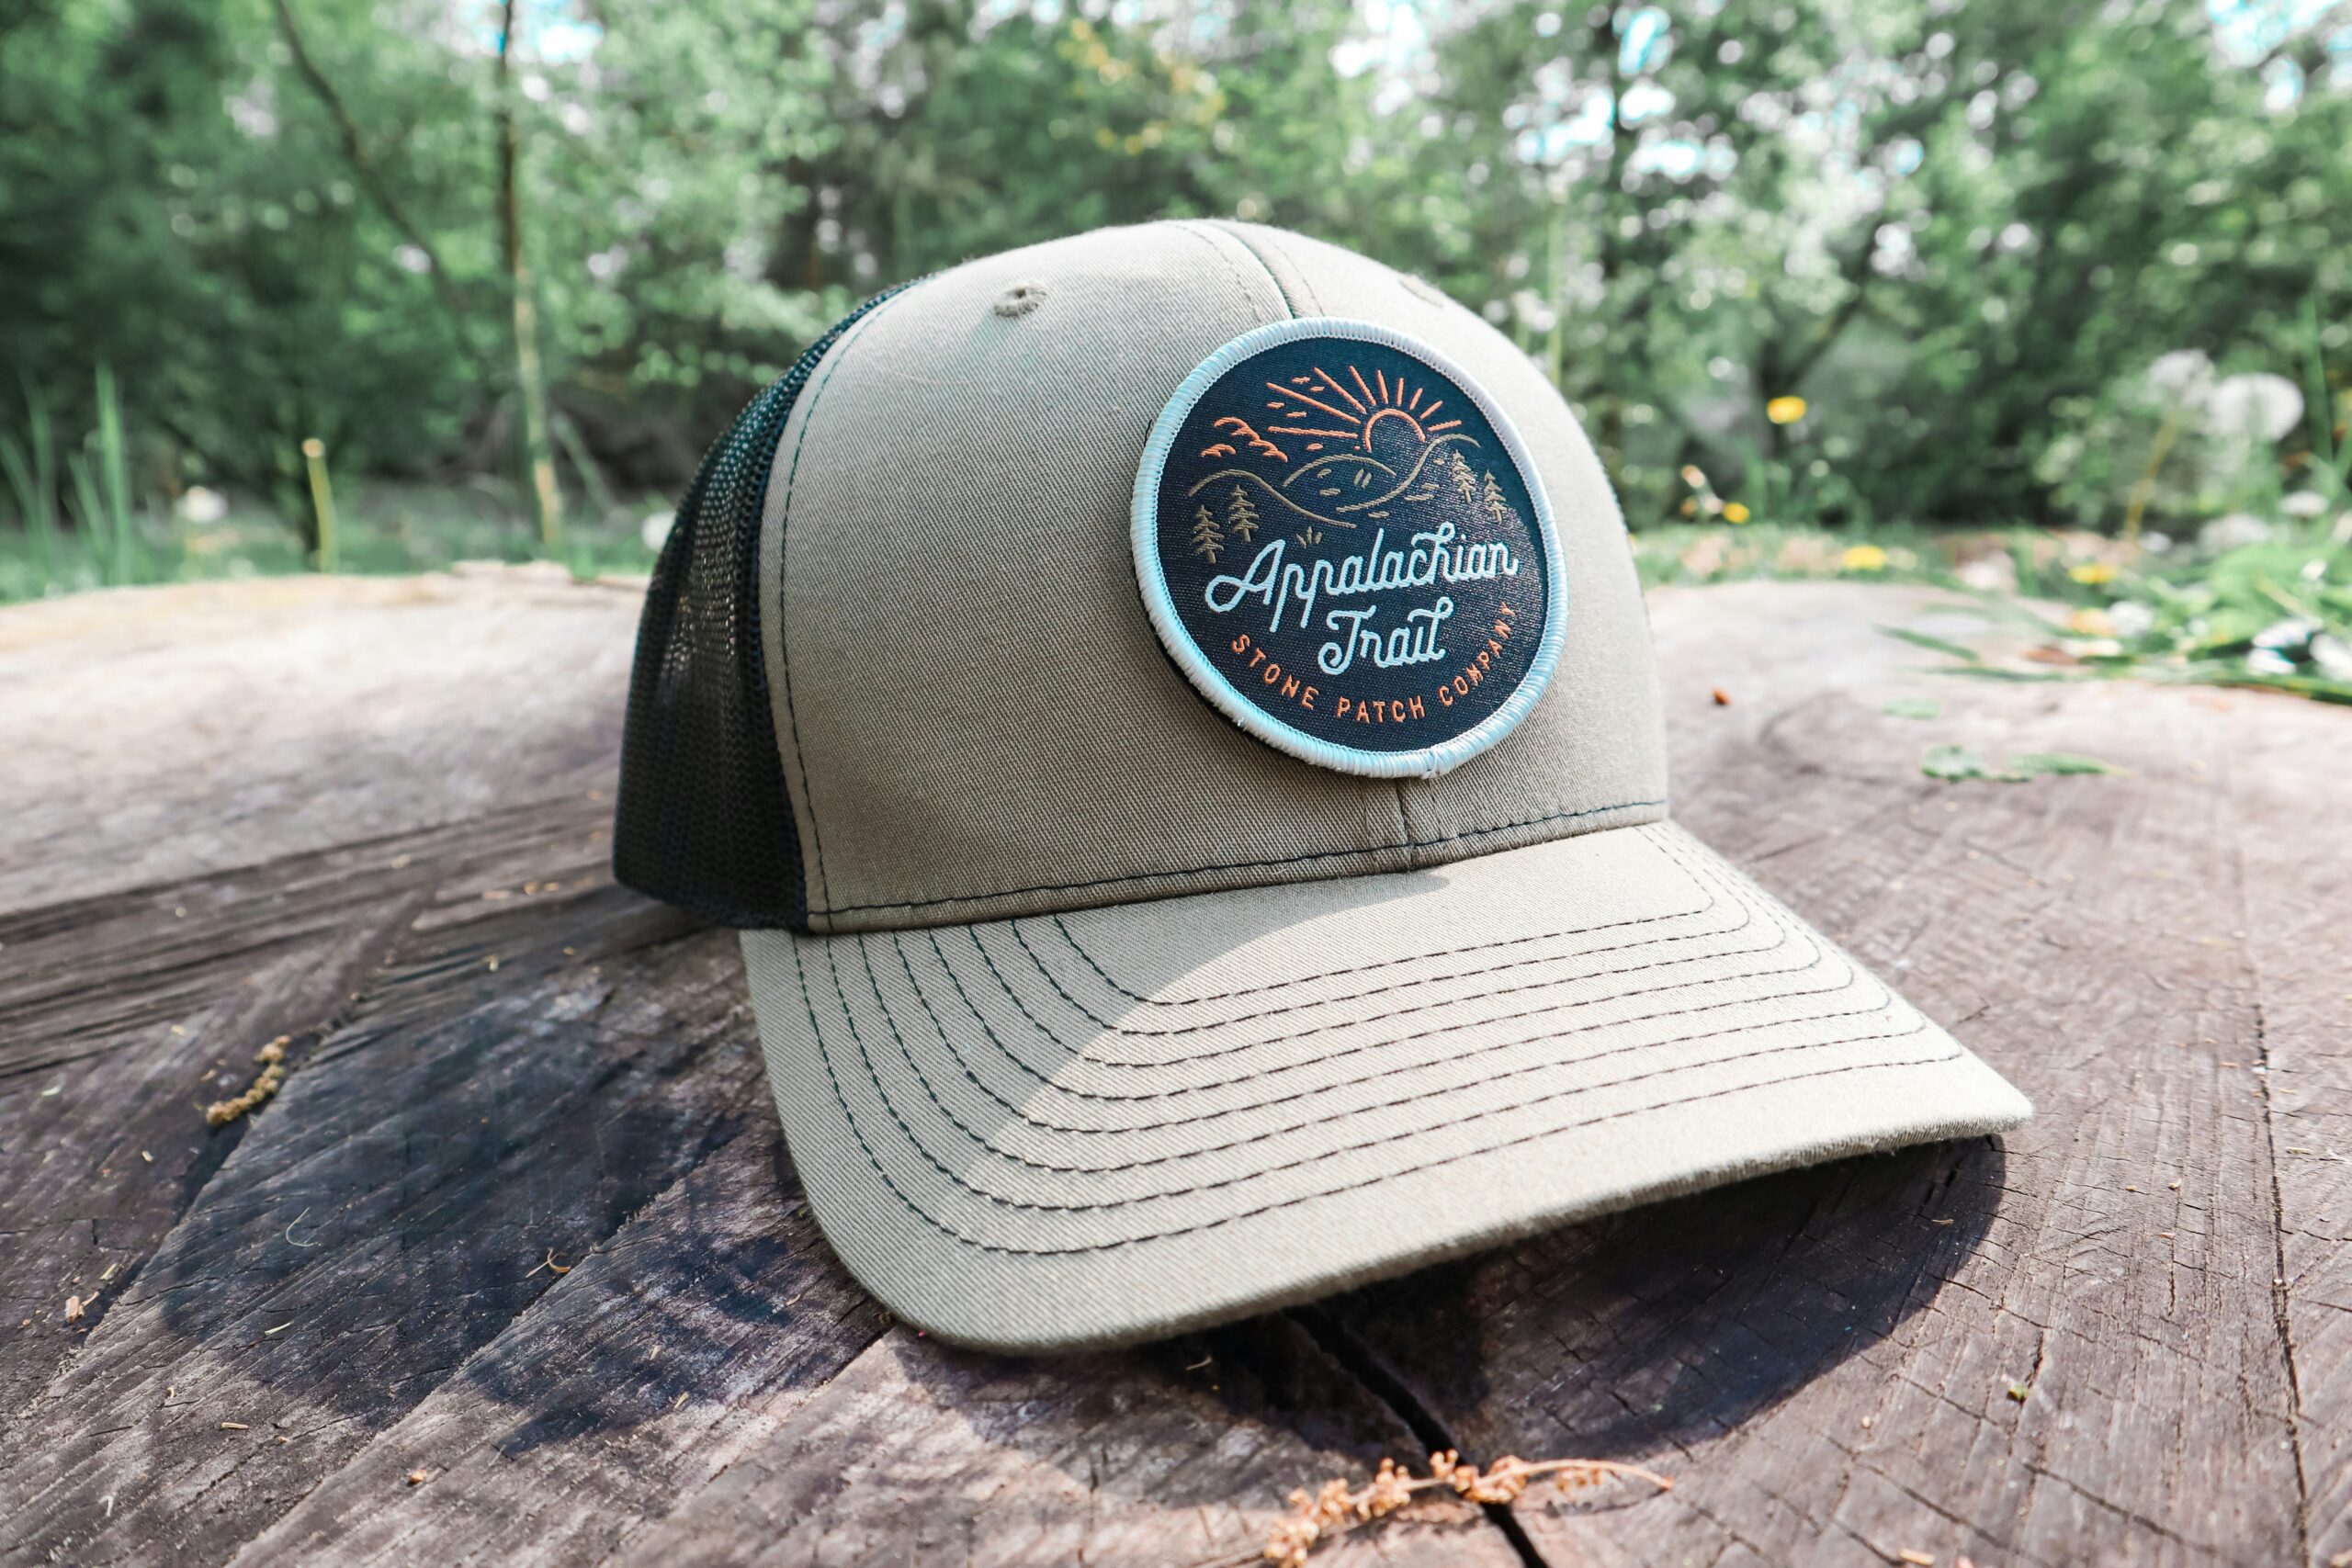
Trucker Hats
Discuss your required silhouette, materials and custom branding with our team.
Also explore baseball caps, snapback caps, bucket hats and visor caps.
Frequently asked questions about custom hat embroidery front and back
Can you embroider a hat on the front and back?
It may be feasible, depending on the cap construction, available application areas, artwork and production process. Send separate front and rear artwork with intended dimensions and request a representative trial. This guide does not guarantee every placement or design. Confirm the actual proposed product and approve both applications together before bulk production.
How much does front and back hat embroidery cost?
Ask for a current quotation identifying both applications, their artwork, dimensions, thread references and quantities. Clarify any separate preparation or sampling charges. A front-only price is not equivalent to a complete two-location proposal. This guide does not publish a universal embroidery rate or a fixed Jalal price for every design.
What size should the back logo be?
There is no universal rear logo size for every cap. The opening, closure, seams, curvature and proposed application process limit the practical area. Ask the supplier to mark a suitable area on the actual construction and review the design at finished size. Record the approved dimensions and reference points with the sample revision.
Can embroidery go above an adjustable cap opening?
It may be possible where the construction and equipment allow the proposed design. Review the actual rear view and intended adjustment range, and identify the application separately from branding placed on the strap or closure. A sample should show whether the wordmark remains visually acceptable in the intended wearing configuration.
Should I use the same logo on both sides?
That is a brand design decision. The front may carry the primary mark while the rear uses a simpler wordmark or supporting symbol. Consider the available surface and readability rather than automatically shrinking the front emblem. Supply clear artwork instructions for both locations and approve the complete appearance on the actual cap.
Can I reuse an embroidery file from another cap?
Ask the production team to review it for the new material, construction and location. An unchanged file does not prove that a different cap will produce the same result. Request a representative trial, inspect the application and retain the accepted interpretation with the new style record rather than assuming the previous approval transfers automatically.
Why is small rear text difficult to read?
The design may be too detailed or tightly spaced for its intended finished size and application conditions. Ask the sample team to identify the concern and review a physical trial. A shorter wording, simpler arrangement or revised dimensions may help, but brand changes need buyer approval. Do not rely only on an enlarged digital preview.
Can different rear logos share one bulk order?
Discuss the complete assortment with the supplier. Show the front file, rear file, colour, size where relevant and quantity for each combination. Ask how the variations affect minimums, artwork preparation, pricing and packing. A shared front emblem does not automatically mean every rear version is treated as an identical production item.
What should the final sample approval show?
Identify the complete cap, construction revision, materials, thread references, artwork versions, dimensions and placement for both locations. Include clear front, rear and relevant internal views. State remaining changes explicitly. Retain a complete physical reference where practical so production and inspection can use one understandable standard instead of disconnected approvals from different versions.
Do the article photographs show verified front and back embroidery examples?
No. The images provide company and related headwear context from the website media collection. They are not labelled as matched technical proof of a particular two-location design. Ask for dedicated photographs and a representative sample of your proposed applications. The pictured context does not establish current feasibility, prices or a fixed production arrangement.
Prepare your two-location cap enquiry
Share both artwork versions, intended dimensions, colour references, cap construction and quantity breakdown with Jalal Hats & Apparels Ltd.. Identify any flexible details and ask the team to confirm feasibility, sample scope and current commercial assumptions before proceeding.
Explore our baseball caps, dad hats and snapback caps for related product enquiries. Use the custom cap order checklist to complete the brief. Approve the whole product with both decoration locations, then retain that reference for inspection and future orders.